

Reason RSPS Starter Guide

Entry posted by rspstoplist in RSPS Starter Guide ·
5,725 views
Getting started on Reason RSPS in 2025

This Reason RSPS guide covers early perks, game-mode choices, combat training, and Slayer progression.
Getting Started: Claim Your Free Perks
If your account has less than 24 hours of playtime, it's highly recommended (though not required) to visit ::catalysts and obtain one of each weapon from:
- Catalyst Brute (Melee)
- Catalyst Mager (Magic)
- Catalyst Ranger (Ranged)
After acquiring these weapons, apply the Fully Loaded Level 5 perk for a major early-game boost. You can manage perks at the Item Workbench for more details.
Game Modes & Perk Master
Before training combat or skilling, check how game modes and perks affect progression.
Important: Game Mode Selection
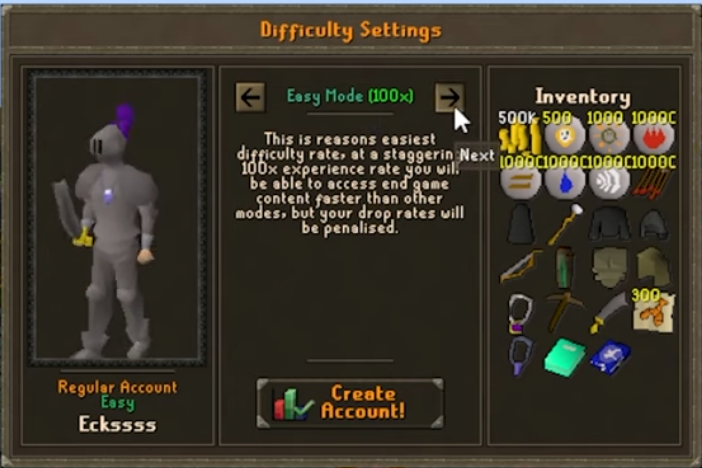
- Once chosen, your game mode can only be changed up to three times.
- If you plan to farm perk points, start on Easy mode, then switch later.
- Game modes can be changed via Party Pete at Home Bank.
How to Claim Your First Perk
- After creating your character and selecting a Game Mode (Easy, Intermediate, Hard, or Extreme), visit the Perk Master, located north of Home Bank.
- Right-click the Perk Master → Select Exchange → Open the Perk Shop.
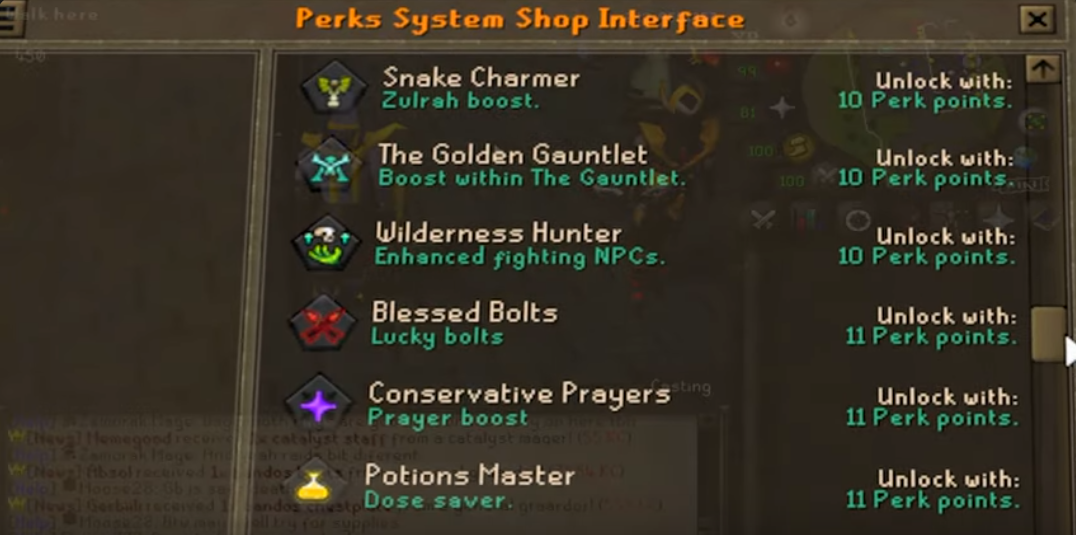
- Use your Perk Ticket to redeem Speedy Strikes (Level 5) for faster early combat training.
Best Way to Start: Perk Farming or Combat?
After claiming your free Level 5 Perk, you need to decide whether to farm perks first or train combat immediately.
Perk Farming for Long-Term Benefits
If you want to maximize perks before jumping into combat:
- Start on Easy Mode (this allows switching later for better Drop Rates).
- Use the Difficulty Changer at Home Bank’s south wall. You can only use it once.
- Train Smithing to Level 77, then enter ::explock mode.
- Acquire Adamantite Bars by asking in Home Bank chat or the “/” help chat.
-
Get a Perk Task from the Perk Master:
- Select Skilling → Option 4 (Elite Task).
- Your task: Make Adamantite Full Helms (fastest way to farm perk points).
Alternative Methods for Ironmen
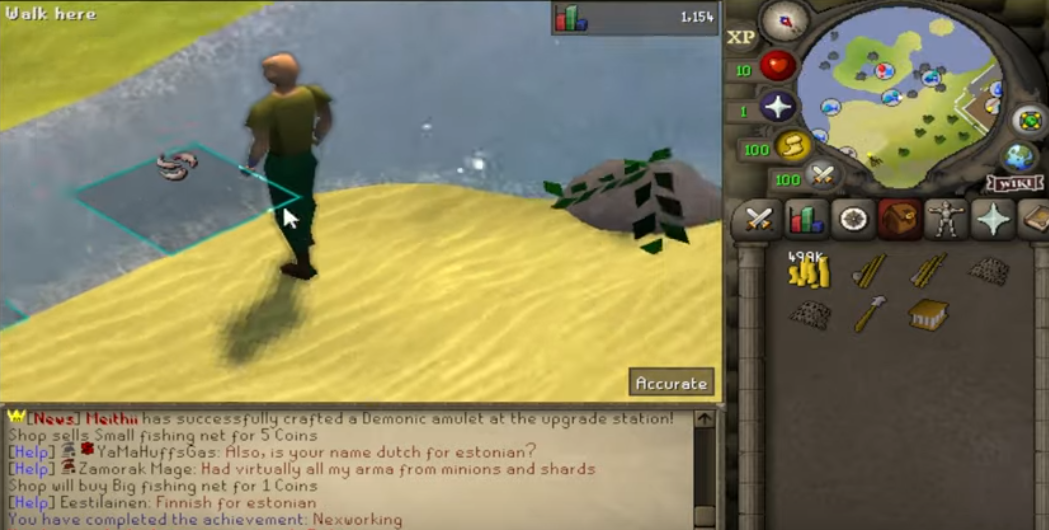
- Train Fishing to access Elite Shark Tasks.
- Access ::dz (Donator Zone) through voting, train Mining to 85, then take Rune Ore Perk Tasks.
Early Perks to Work Toward
After completing a few perk tasks:
- Obtain Smithing Dynasty for a chance to save bars while smithing.
- Upgrade it to Level 5 via Perk Equip & Upgrade.
- Continue tasks to obtain the PvM perks you need.
- When you have finished perk farming, use ::explock to re-enable XP and change difficulty.
Straight into Combat – Fast Leveling Guide
If you prefer skipping perk farming and jumping straight into combat, follow these steps:
Best Training Spots for Early Combat
- Start combat training at ::train (Sand Crabs).
- Once you gain a few levels, begin Slayer training.
Slayer Training Progression
- Reach Level 90 Slayer to start Boss Tasks.
- Access Slayer Masters using ::slayer.
- Take an Easy PVM Task from the Perk Master to farm Perk Points while training.
- If you receive a "Kill 0 of X" task, lower your Slayer Master tier.
Slayer Master Requirements:
- Nieve: Requires 85 Combat Level.
- Duradel: Requires 100 Combat Level.
Easy Slayer Task Navigation
At Reason RSPS, Slayer is simplified:
- Open your Quest Tab → Scroll to Slayer Task → Click it to teleport directly to the task.
- Boss Tasks and Task Pick Scrolls require manual navigation.
Choosing Your Starting Route
Perk farming prepares passive benefits before combat training. Starting with combat instead leads into Slayer and boss tasks. Choose the route that fits the way you want to play.
0 Comments
Recommended Comments
There are no comments to display.